If you are facing a tap-related problem the first thing you need to figure out is what type of valve you’re working with, since water taps are traditionally designed with three kinds of valves. The first type is a traditional one, which involves use of rubber washers placed at compression valve’s end located within the tap. The second type uses a washer mechanism. This is quite a modern approach that utilizes a ceramic disc. The third type involves the use of a ceramic cartridge, which is quite similar in function to the ceramic disc used in the second type, but the cartridge is very specific to taps wherein both temperature and water flow are controlled by one handle. If the tap handle can be rotated through one or a few turns, it is most possibly a rubber washer tap. If the handle does not rotate all the way through, but just for a quarter of a turn then the tap has a ceramic design
Tools and materials needed
- Phillips screwdriver
- Adjustable spanner
- Slip-joint pliers
- Piece of cloth
- Spare part replacement for damaged ceramic cartridge, ceramic disc, or rubber washer
Preparations
Turn off the tap at the isolation valve which can be found beneath the sink where the supply pipes are. With the slot head screwdriver, turn the screw slot towards a direction which is perpendicular to the direction of the pipe. If there’s a handle, you should turn it off. For removing the water that remains on the pipe’s uppermost section, just turn the tap on and let the water run. If there are no isolation valves, you have to find the stop valves further along on the pipeline. However, if you can’t turn off the water supply and can’t find the right valves, it would be better to call a plumber.

Removing the handle of the tap
There is a screw in the handle which you need to loosen up and remove. This is a small screw which keeps the handle in place. Check if the tap head has a screw. If not, flip off the lid with hand or a screwdriver. You can even use an adjustable spanner. Since, nowadays taps come in different designs, make sure to explore a bit to find the screw that you’re looking for.
After unscrewing the tap head, set aside the screw because you’ll have to put it back later. Lift off the head of the tap. If the tap has a shroud part, unscrew this as well with your fingers of a slip-joint pliers if the need arises. The pliers can grip the shroud and you will find it easier to loosen it up. However, to prevent the pliers from scratching the surface of the shroud, protect it with a piece of cloth.
Once the valve has been exposed, use the spanner to grip the nut at its base. Look for the place where the valve joins with the main body of the tap. Using a cloth, place the slip-joint pliers over the main body of the tap and hold it there firmly. Using the adjustable spanner, open the valve afterward.
How to replace the washer
The valve can be unscrewed by hand once it is loose. If the problematic part is a ceramic disc valve, the old one must be taken out and replaced with a new disc.
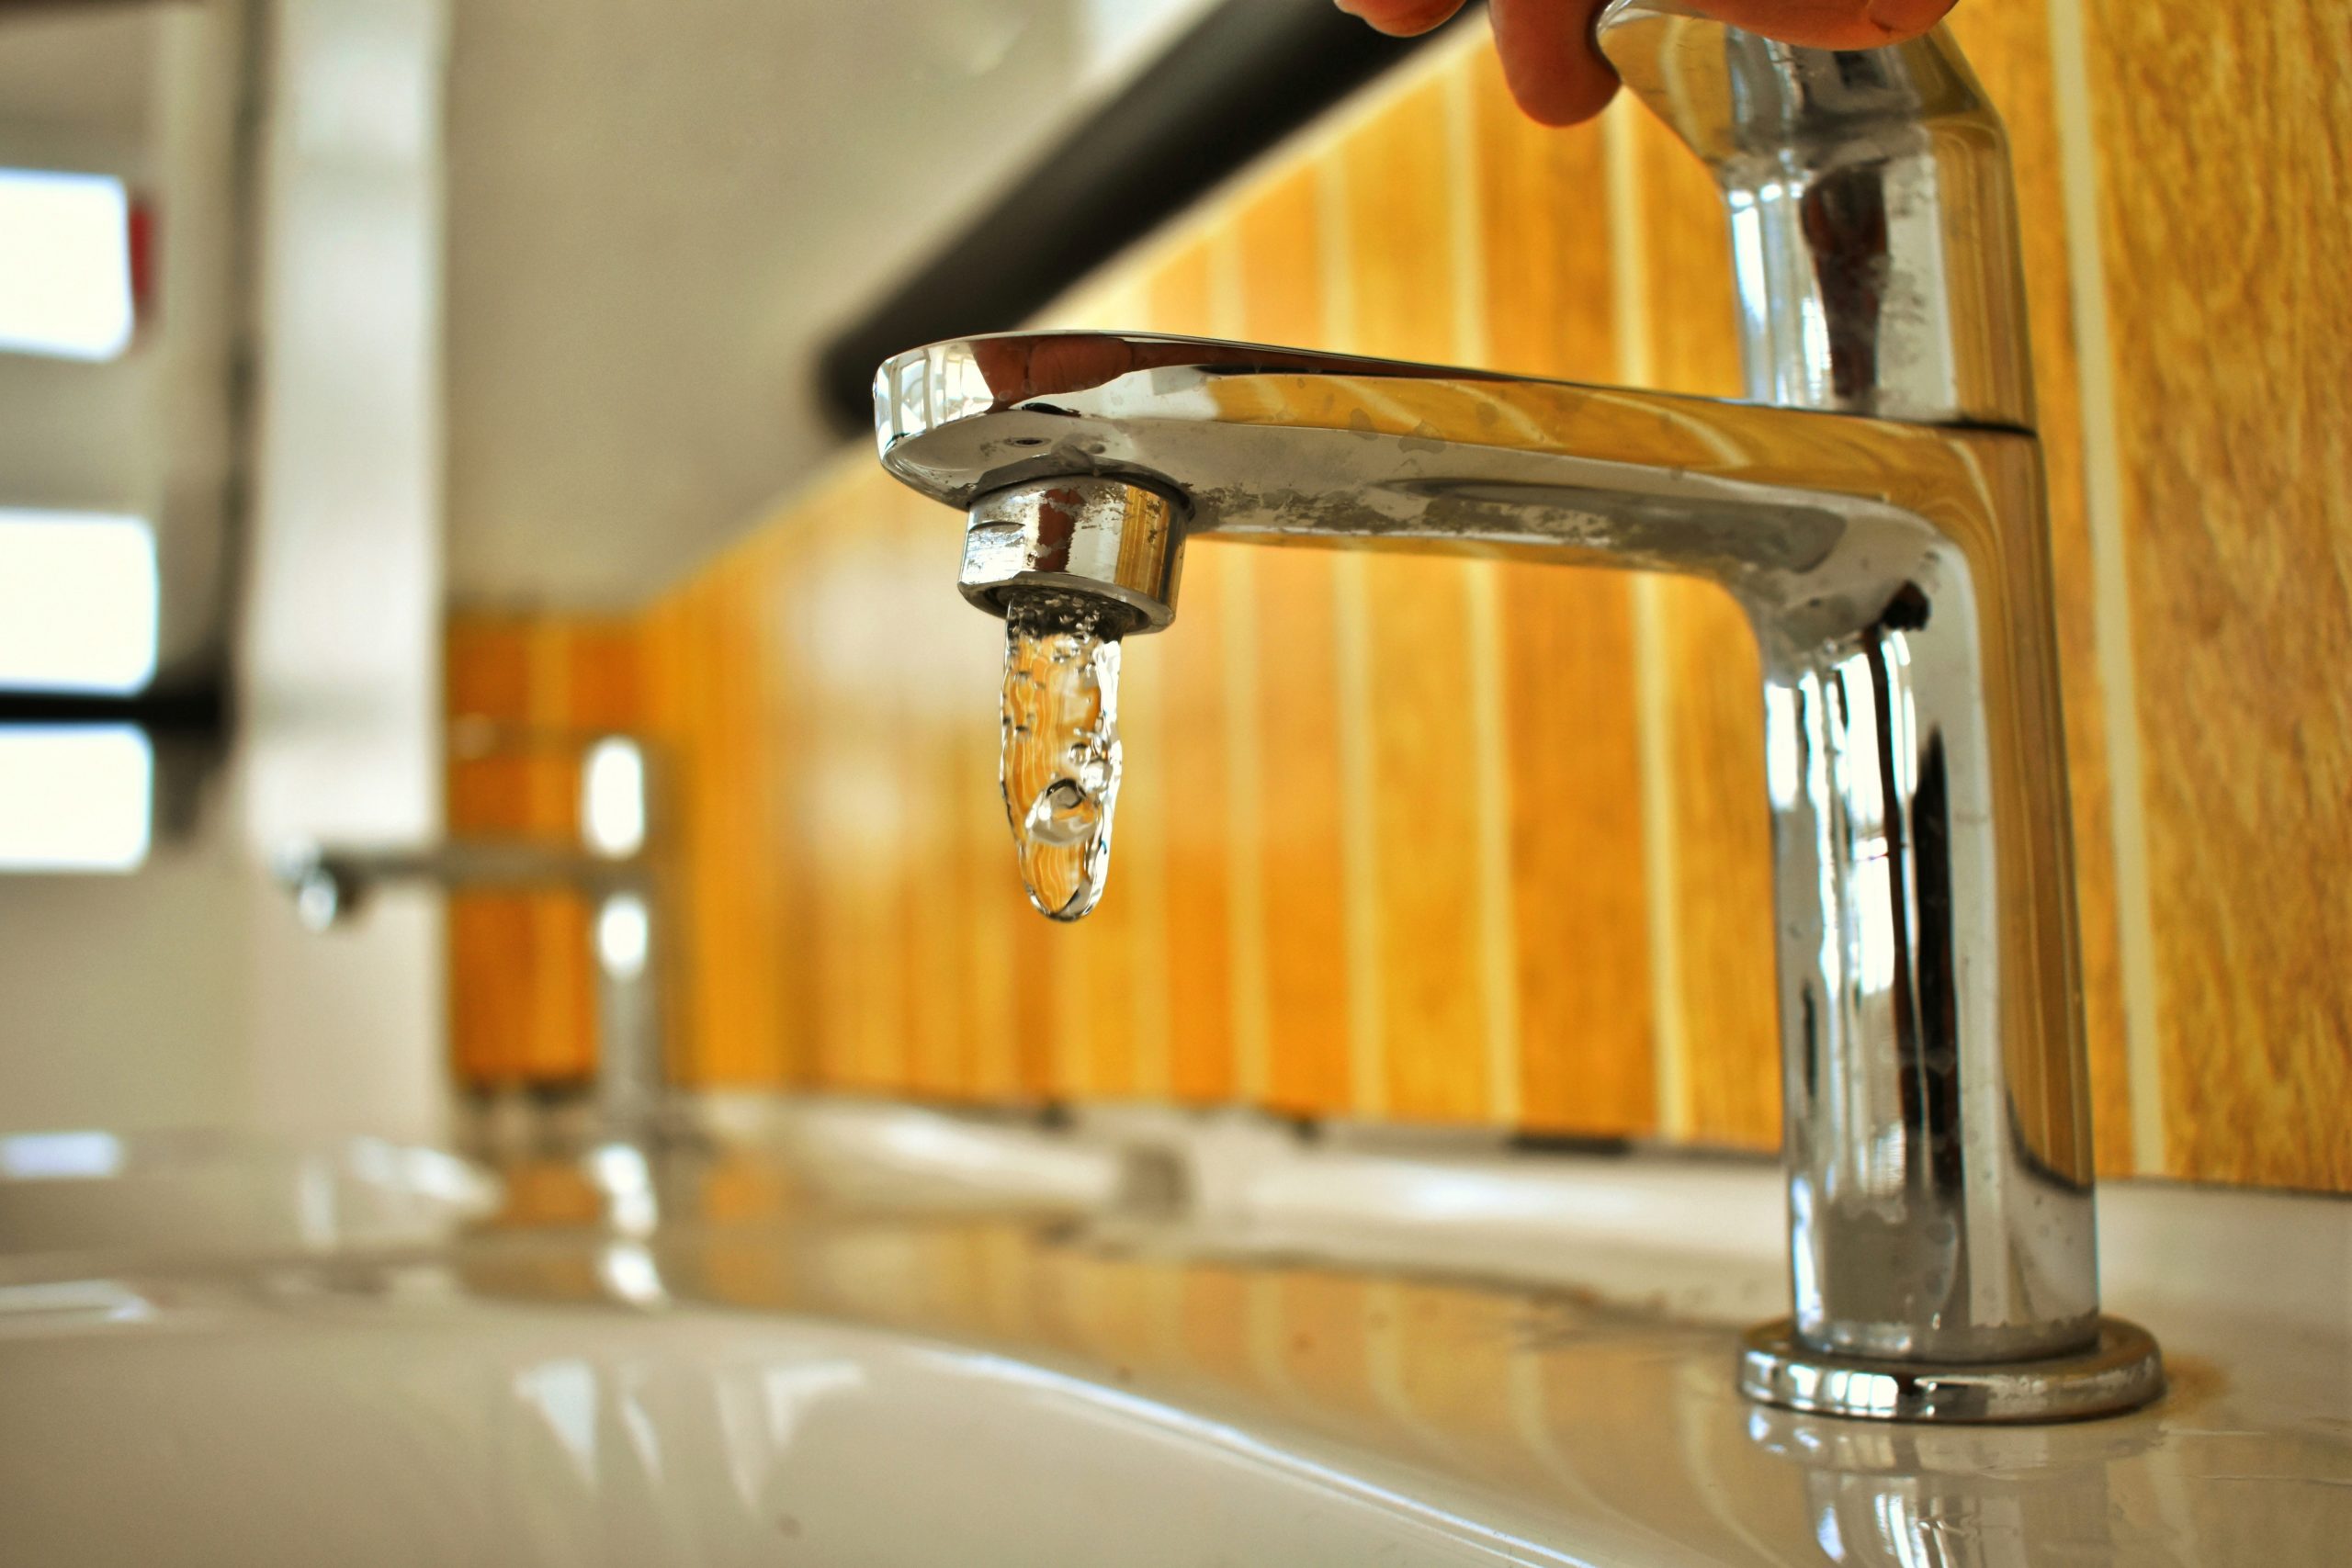
If the valve you are handling is the type that utilizes a rubber washer, use the end of the screwdriver to flick it off. Check whether there is a small screw or nut that you need to remove first before you can reach the washer because some taps have those. After releasing the washer, remove it and replace it with a new one. Once that is done, reconstruct the tap by going back through the steps you’ve done. Turn the water on to check if the tap is still dripping or not.
If you find difficulties in doing this we are here to help.
Call us on 02081067444. We are based in South Wimbledon and cover most of SW London.